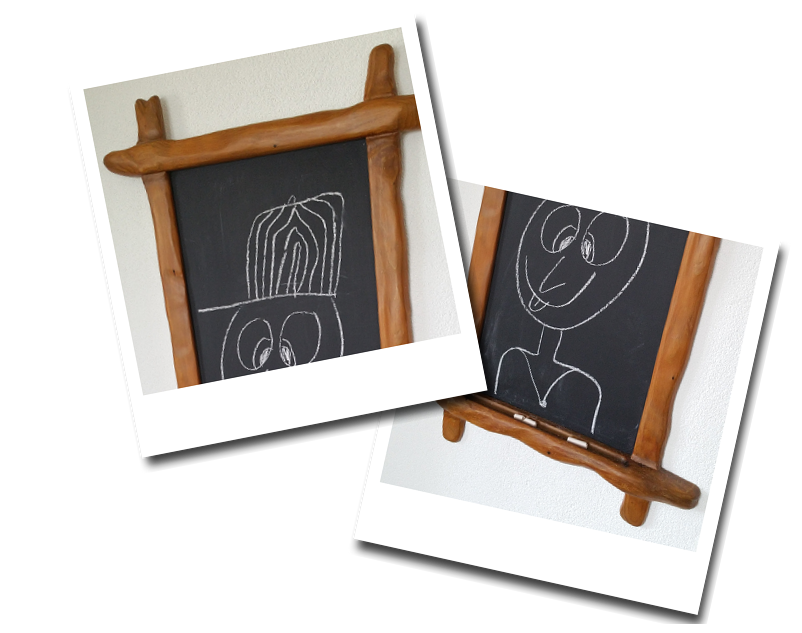
Blackboard with rustic frame
I made some old school blackboards with frames with a rustic look that I felt were very suitable for the appearance I was aiming for. I made two sizes and with different finish, one with a water based matt finish lacker and the other with high gloss spray on lacker. I think that both came out very good and I'm pleased with the result.
I made the frames from ordinary construction lumber, which in most cases in Sweden is fir. The actual blackboard, the black surface that you write on, is just a painted board. This paint is commonly available and is easy to apply with an ordinary paint brush.
The dimensions of the frames that I made are 30 x 60 cm and 60 x 80 cm, which roughly converts to 1' by 2' for the small and 2' by 2'8" for the large.
How I made it:
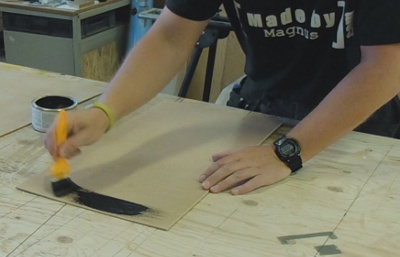
I started by cutting two pieces of board, also known as masonite, to their sizes. I did this with a track saw and then gave the surface a quick sanding to make the paint stick to the surface a little better. Then it was just to brush them with some paint and set them to side to dry.
For the frames I started with cutting a piece of 45 x 170 mm to the lengths that I needed. In imperial this corresponds to a piece of a 2" by 7". For these two frames that I made, I needed three diferent lengths; 530 mm, 800 mm and 1000 mm. Which is roughly 21", 31.5" and 39".
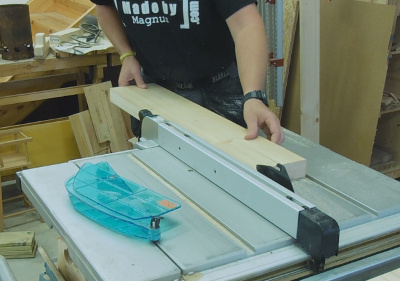
I then ripped these pieces to three different widths on the table saw, which will be the depth of the frames. The side pieces are the most narrow ones and were ripped to 15 mm (~5/7"). For the top piece I went with 25 mm (~1") and for the bottom piece I chose 50 mm (~2"). The reason for the larger bottom piece was so I made it possible to rout a groove as storage for the pieces of chalk.
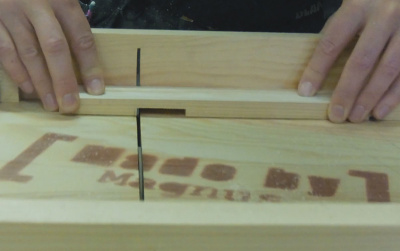
All the joinery are made with halflap joints. I made the notches for all the pieces and checked the fit before I carefully marked the pieces to keep track on were every piece should go. This tends to often be neglected and it's easy to think that you are able to keep it in your head... at least I tend to think like that and that's allways a simple way for me to get in a bad mood!
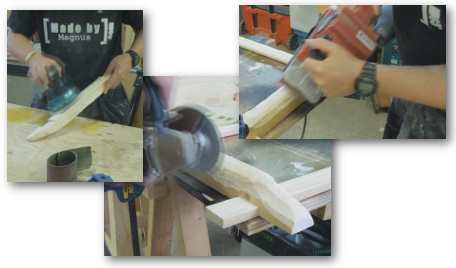
I assembled all the pieces without glu and held them together with clamps while I was shaping them. For this I used a rasp disc on my angle grinder and then I used my belt sander for some fine tuning. After this I sanded everything with the random orbit sander to 120 grit. I thought this should be enough since my plan was to use lacker as finish.
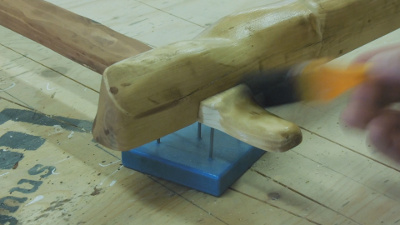
To get the right look I used some steel wool and vinegar mix that chemically changes the color of the wood. I really like the look and it happen really fast! Just look at the image here were there are one spot that are not yet covered with the mixture.
When it was fully dry, I used some water based matt finish lacker for the smaller frame and then I used some high gloss spray on lacker on the larger. Both of these frames got two coates of lacker each and I really like how they turned out!
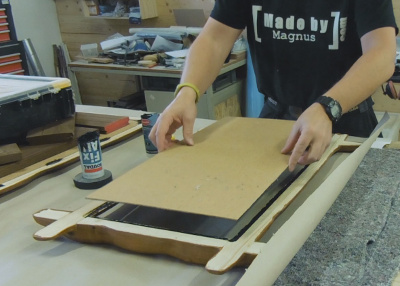
After the finish had dried I attached the actual blackboard with some construction adhesive, added some weights to it and waited for it to dry. Then I mounted some screw eyes and a wire in between for it to hang on.
