Photo studio
A photo studio doesn't have to be something big and advanced, like you have seen a professional photagrafer use. I made a simple white background to have in my office and let me take really great pictures with no or only little adjustments in the computer. It's easy to make with just a few simple tools.
This photo background is made from one single sheet of OSB and one sheet of hardboard, or masonite as they ofter are refered to. Besides the two sheets, I also used some strips of fir to work as braces or stretchers between the sides. With a couple coates of white paint it was ready to move in to my office and I have got a lot of use of this new addition.
Download the free plans here!
How I made it:
I started by measuring and marking out the center of the OSB board to be able to break it down in half later on. Then I measured 10 cm, or 4", from one of the short ends and one of the longer sides. These two lines I then connected with a curved line in the corner that would be the transition from the "floor" to the back "wall".
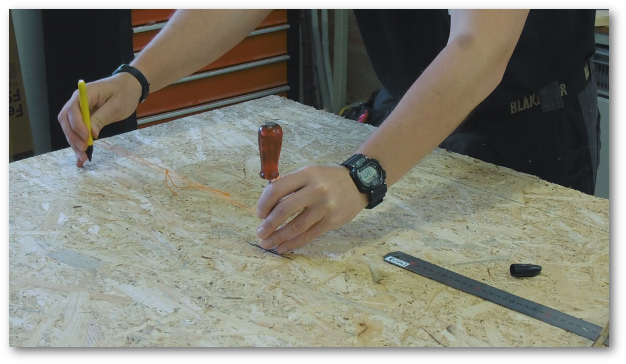
I don't have any compass that large, so I just made a loop on a string together with an awl and a sharpie. I found the center by putting an awl were the two lines crossed and made a mark at each end. This gave me the points were the strait lines would meet the curved part. Then I moved the awl two these points and made marks were I estimated the center to be and got a cross. Now I had found the center of the curve I was trying to make and it was easy to trace out the curved line that connects to the strait bottom and back.
It's important to make sure that all transitions between the horizontal bottom surface and the vertical back is completely smoth. This makes the images a lot better and without any disturbing lines in the background.
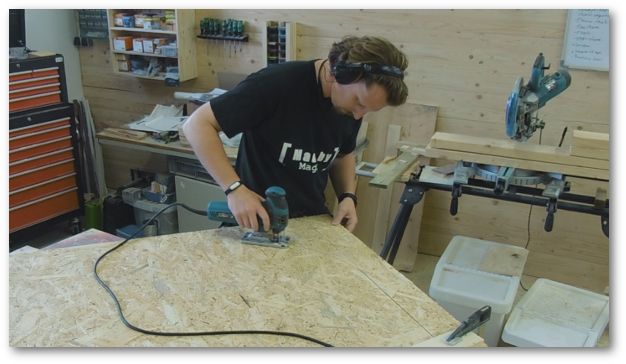
I then used my track saw to break down the OSB sheet in half and used double sided tape to stick them together. I made sure that the marked sides were aligned and then used the track saw once again to make the fourth side even. I also used the track saw for the strait cuts and then a jigsaw for the curved part. I tried to stay on the line but I wasn't too worried if I was a bit off, as long as they have the same shape it will work perfect.
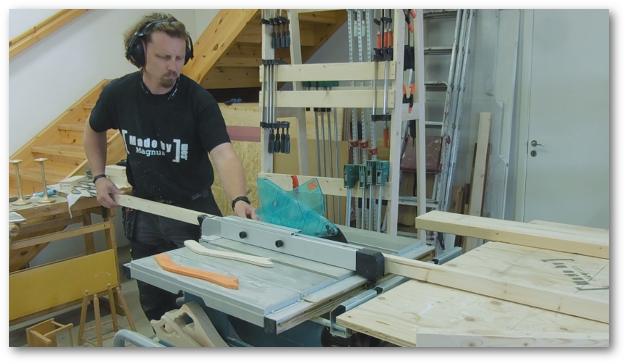
As cross braces I used ordinary construction lumber out of fir, because that's what I had on hand. The lumber I had was 45 by 120 mm, which is a 2" by 5", and was first cut to length on my mitre saw. Then I ripped it into several strips of approximately 25 mm, or 1".
The length of the cross braces are determined of the width of the studio background minus the thickness of the sides. I was going to use a full sheet of harboard, or masonite, which is 1220 by 2440 mm (roughly 4' by 8'). The OSB I used was 11 mm in thickness and this meant that my crossbraces were cut to 1198 mm (1220-2*11). In imperial this would correspond to 3'11" (4'-2*½"), if you were to use ½" sheet goods for the sides.
Then it was time to put everything together.
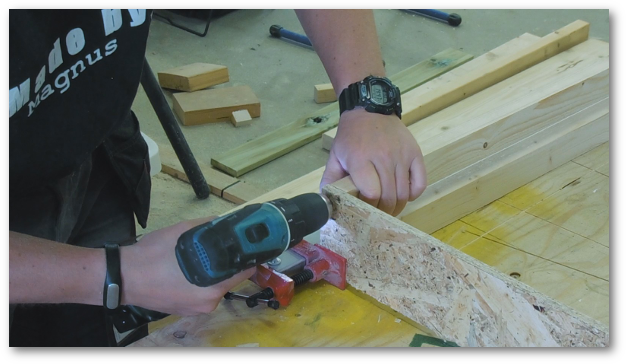
I started by clamping a couple of cross braces in place between the sides and predrilled for the screws. The predrilling was necessary to avoid the cross braces from cracking, after all I was screwing into end grain in rather thin material. I then added two 30 mm ( 1" 3/16) screws in each end for each member, without any glue. After a couple of cross braces were attached I could loosen the clamps and attach the rest.
When all the cross braces were in place, I clamped the frame to my work table and also added some temporary stop blocks at the front.
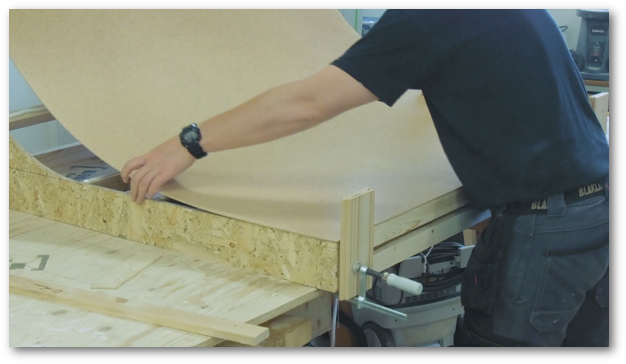
I added some construction adhesive to all the surfaces and carefully added the hardboard, making sure it was flush with the front and the sides. To attach it I used my staple gun and added some staples along the front end. I then worked my way along the sides and continuously added more staples along the sides. These staples will be visible on the studio but not be seen in the images.
I wanted a uniform white color and started with a white primer and then two coates of semi gloss white wall paint. When the paint was dry it was just to place it in the office and start testing it out. The reslult was even better than I was hoping for and I can't imagine how I manage before!
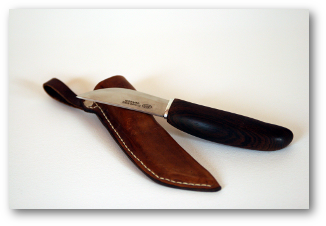
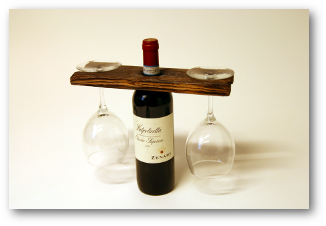
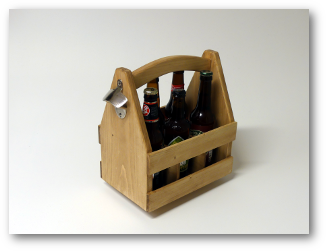
Below you see a couple of examples of images taken in this simple studio background.
